Self Admin App
The Self SDK can operate in a sandbox mode, offering a limited set of functionalities suitable for initial development and testing. However, to unlock the full potential of the SDK and configure certain features even within the sandbox, you will need to install and configure the Self Admin App. This includes setting up crucial elements like integrity checks (integrity code) and push notification configurations (push config), even if you are not yet targeting a production environment.
Why Use the Self Admin App?
While the basic sandbox mode is useful for getting started, the Self Admin App is essential for configuring specific SDK features (like integrity checks and push settings) in the sandbox environment. It also serves as the gateway for enabling production-level features such as sending push notifications to mobile devices, although the creation of production applications is not yet available. It acts as a central hub, allowing you to manage your application settings and link your SDK instances securely for both development and future production use.
Installation and Setup
The process of setting up the Self Admin App is designed to be straightforward.
1. Download and Install
Binary
Download the binary suitable for your operating system.
Once downloaded, run the installer or place the binary in a convenient location on your system.
Docker
Community Docker images are available. See examples below.
2. Configure Environment Variables
Before running the Self Admin App, ensure that the following mandatory environment variables are set. These variables are essential for the app's operation, managing storage, and securing data.
SAA_STORAGE_PATH: Specifies the directory path where the application will store its files. For example,/tmp/self-admin-storageor./data.SAA_JWT_SECRET: A secret key used for signing JSON Web Tokens (JWTs), ensuring secure sessions. This should be a long, random string.SAA_ENCRYPTION_KEY: A Base64-encoded 32-byte key used for encrypting storage and other sensitive data. You can generate a suitable key using the command:You can set these environment variables directly in your terminal session before launching the app. Alternatively, you can create a.envfile in the same directory where theadmin-appbinary is located and define the variables there, one per line (e.g.,SAA_STORAGE_PATH=/my/path).
Example of setting variables and running the app directly in the terminal:
Docker example:
Docker Compose example:
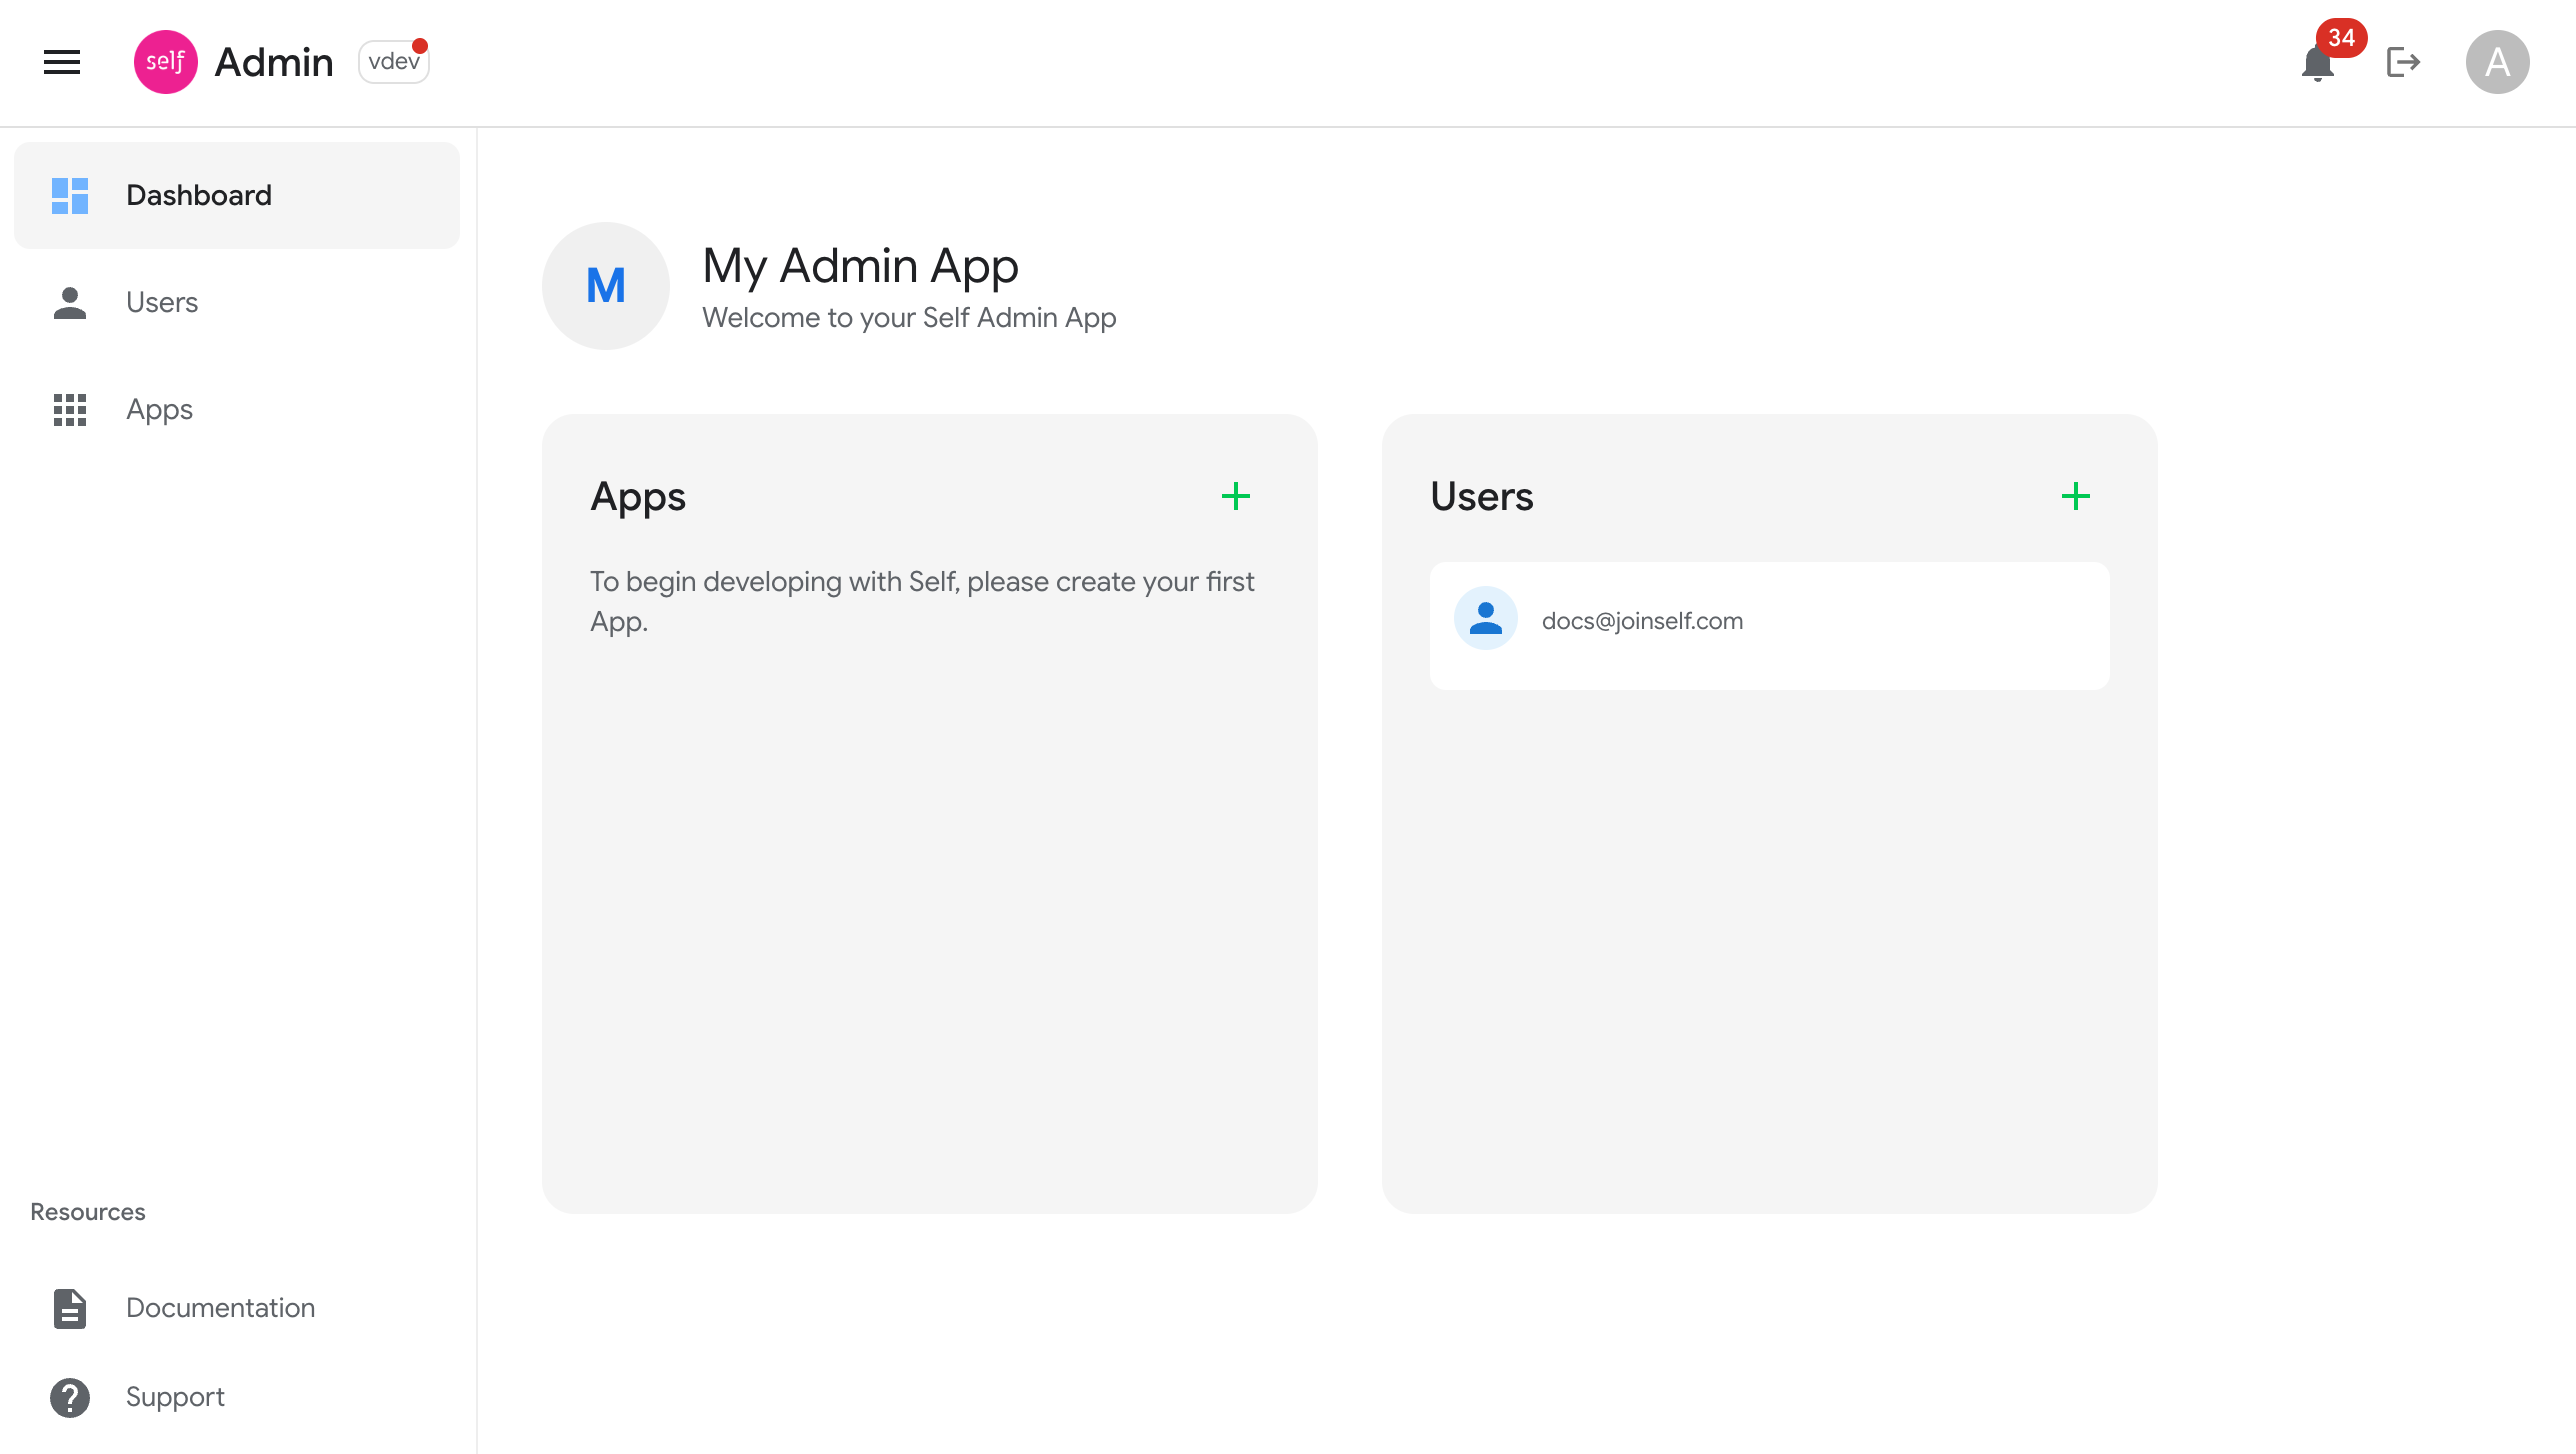
3. Launch the App
Start the app and visit http://localhost:8080 in your browser.
You should see something similar to the dashboard below.
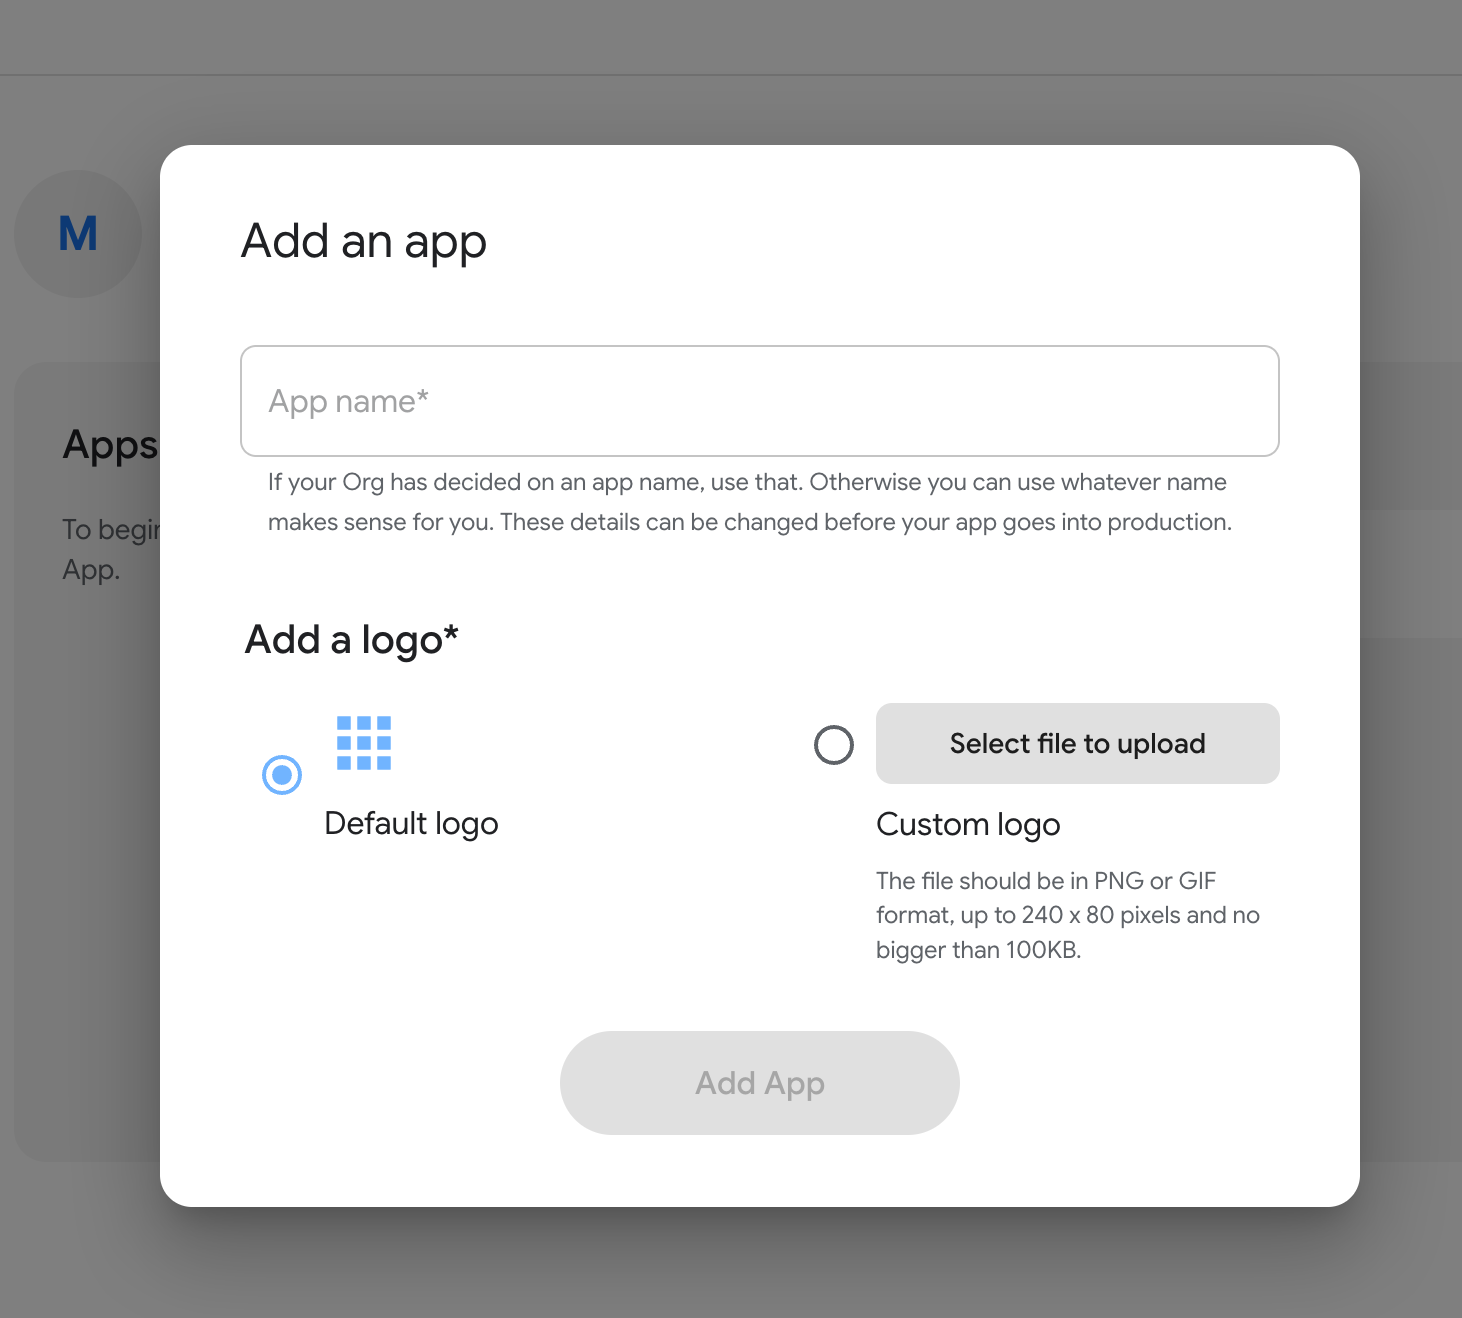
4. Create Your Application
Follow these steps within the app:
- Provide an Internal Name (Optional): You might be prompted to give your setup an internal reference name. This is purely for your organizational purposes and does not affect functionality.
- Create the App: Click on the option to create a new application. You will need to provide a name for your application (e.g., "My Awesome Project").
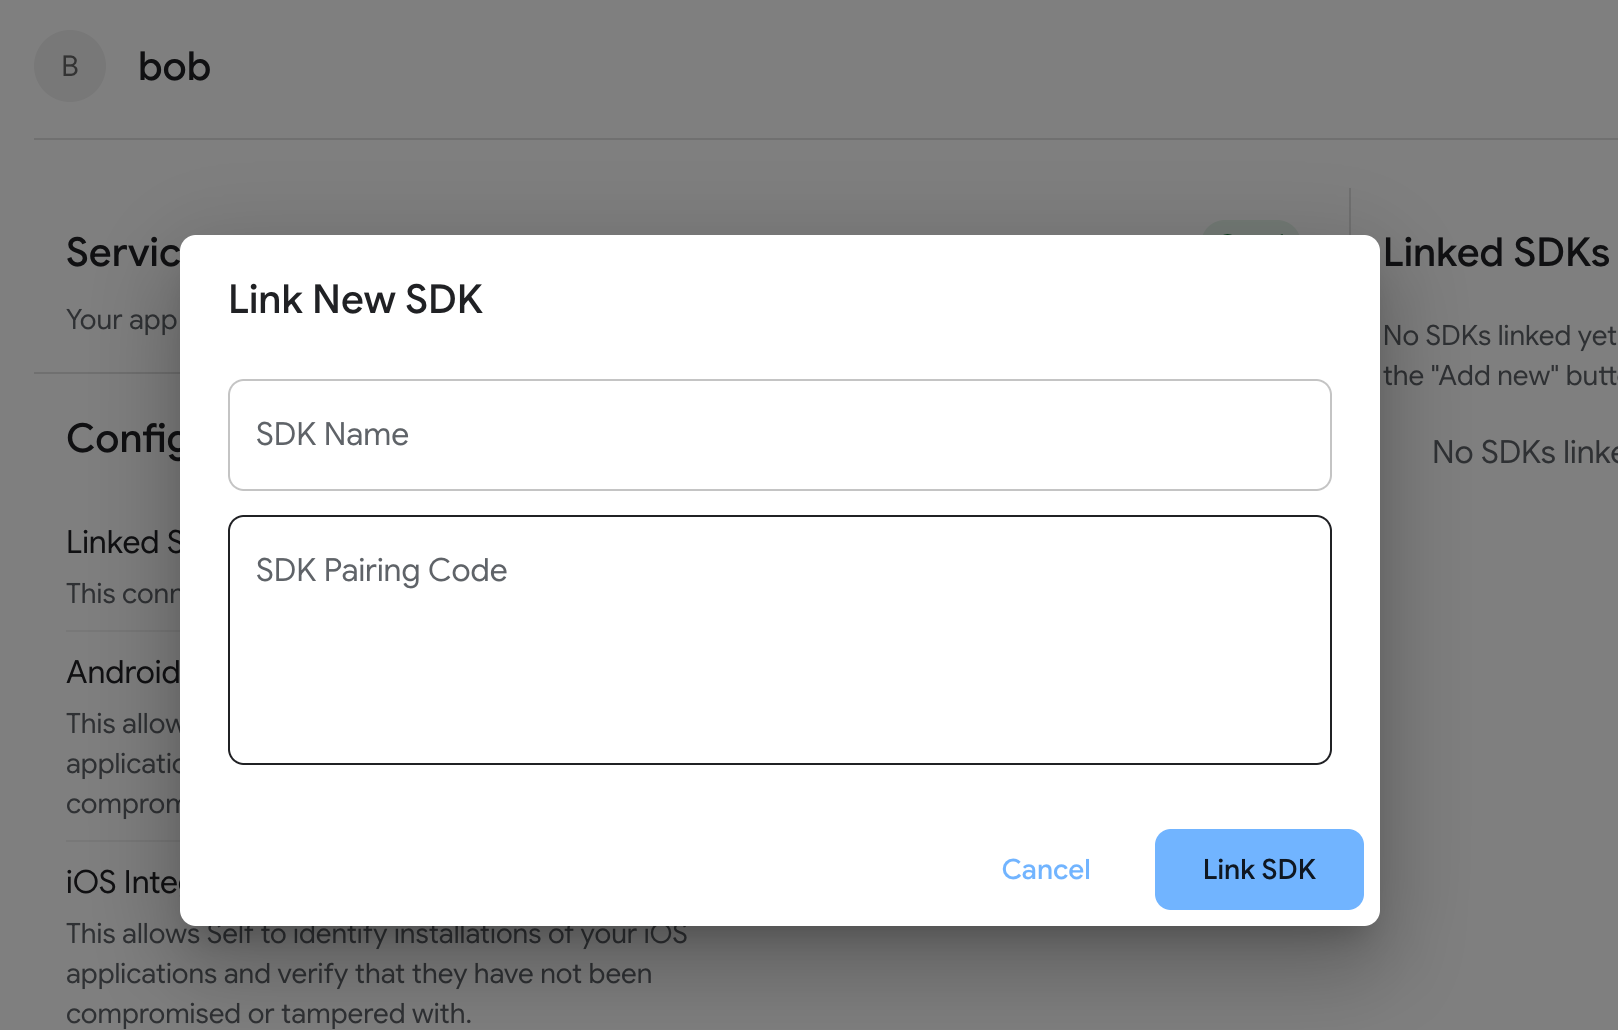
5. Link Your SDK
Once your application is created within the admin app, you will find options to link your Self SDK instances. This typically involves obtaining credentials or configuration details from the admin app and using them in your SDK setup.
6. Configure Application Settings
The Self Admin App also provides an interface to manage various configurations for your application, such as push notification credentials (APNS, FCM), webhook endpoints, and other settings relevant to your use case.

By following these steps, you will have successfully set up the Self Admin App, linked your SDK, and configured the necessary settings to utilize the full range of Self features, including mobile push notifications.