Get started with the QuickstartA quick introduction to building with Self
Introduction
Let’s try out the Self-Quickstart app by cloning the Quickstart app on your local machine. To do this, you will need API keys which can be obtained by registering on the Self Developer Portal.
You have the option of obtaining credentials for two distinct environments, it is suggested to first develop and test your app on the sandbox environment, once it is stable and working as expected, you can then submit it for approval on the production environment, keep in mind that the approval process for production environment may take some time.
| Environments | ||
|---|---|---|
| Sandbox | Get started with test credentials and life-like data | |
| Production | Launch your app with live credentials |
| API Keys | |
|---|---|
| SELF_APP_ID | Public app identifier |
| SELF_APP_DEVICE_SECRET | Private key |
Setting up your app
Before we even get started with the code we need to have a valid Self-app credentials so the quick start can interact with the Self-network.
This can be done through the developer portal, if you’re just getting started you can get those from the Sandbox Developer Portal.
This documentation site has a whole section describing how to create and tune your self-app for your specific needs, check it out for more detailed information. In order to prepare your app to run all the examples you should configure it properly on the portal:
- Mark the app as listed
- Mark it as allows messaging
- Mark it as allows voice
Additionally, you must connect to your app on your device, so you can interact with it
Quickstart setup
Once you have obtained your API keys, the next step is to execute the Self Quickstart on your local machine. The guidance provided below will assist you in duplicating the Quickstart repository, adjusting the ./examples/.env file with your own Self client ID and Sandbox secret, and ultimately, compiling and launching the application.
The Self-Quickstart is available in both Docker and non-Docker options. If you don’t have Docker installed on your system, you might want to use the non-Docker version, particularly for Windows users who do not have Docker installed. However, if you already have Docker installed, it is recommended to use the Docker option as it is more straightforward and simpler to execute the Quickstart. The instructions provided below will guide you through the process of setting up the Quickstart with both Docker and non-Docker configurations.
Setting up with Docker (Recommended)
Docker is a platform and technology for building, shipping, and running distributed applications. It uses containerization, a method of packaging software in a way that ensures it runs consistently across different environments. Docker allows developers to package an application with all of its dependencies into a single container, which can then be easily deployed and run on any machine that has the Docker runtime installed. This makes it easy to manage and distribute applications, and helps ensure that the application will run consistently across different environments.
Once you have Docker installed, open the Docker application, and then utilize the following commands in the command line interface to set up and execute the Quickstart. In case the ‘demo’ commands do not function as expected, confirm that Docker is running.
# Notes for MacOS / Linux

# Clone self-ruby-sdk
$ git clone https://github.com/joinself/self-ruby-sdk.git
$ cd self-ruby-sdk

# Copy the ./examples/.env.example file to ./examples/.env, then fill out SELF_APP_ID
# and SELF_APP_DEVICE_SECRET in .env
$ cp ./examples/.env.example ./examples/.env

# start the container
$ ./demo up

# Finally run the quick start demo
$ ./demo run
# Notes for Windows

# Clone self-ruby-sdk
$ docker run -it --rm -v ${PWD}:/git alpine/git clone https://github.com/joinself/self-ruby-sdk
$ cd self-ruby-sdk

# Copy the ./examples/.env.example file to ./examples/.env
$ cp .\examples\.env.example .\examples\.env

# Add SELF_APP_ID and SELF_APP_DEVICE_SECRET to .env
$ notepad .\examples\.env

# required in order to run local scripts
Set-ExecutionPolicy RemoteSigned

# start the container
$ .\demo.ps1 up

# Finally run the quick start demo
$ .\demo.ps1 run

Set-ExecutionPolicy Restricted
Stop the container with ./demo down
Setting up without Docker
Self SDK comes with some dependencies on native libraries to manage encryption libself_olm and libself_omemo.
Below you’ll find the instructions to get them working on your system.
Debian/Ubuntu
$ curl -O https://download.joinself.com/olm/libself-olm_0.1.17_amd64.deb
$ curl -O https://download.joinself.com/omemo/libself-omemo_0.1.2_amd64.deb
$ apt install libsodium-dev
$ apt install ./libself-olm_0.1.17_amd64.deb ./libself-omemo_0.1.2_amd64.deb
Redhat/Centos
$ rpm -Uvh https://download.joinself.com/olm/libself-olm-0.1.14-1.x86_64.rpm
$ rpm -Uvh https://download.joinself.com/omemo/libself-omemo-0.1.2-1.x86_64.rpm
Mac (x86_64)
$ brew tap joinself/crypto
$ brew install libself-olm libself-omemo
Mac (m1/arm64)
Brew on M1 macs currently lacks environment variables needed for the sdk to find the olm and omemo libraries, so you will need to add some additional configuration to your system:
In your ~/.zshrc, add:
export C_INCLUDE_PATH=/opt/homebrew/include/
export LIBRARY_PATH=$LIBRARY_PATH:/opt/homebrew/lib
You should then be able to run:
$ source ~/.zshrc
$ brew tap joinself/crypto
$ brew install --build-from-source libself-olm libself-omemo
Note, you may also need to create /usr/local/lib if it does not exist:
$ sudo mkdir /usr/local/lib
Setting up Quickstart
# Note: If on Windows, run
# git clone -c core.symlinks=true \
# https://github.com/joinself/self-ruby-sdk.git
# instead, to ensure correct symlink behavior

$ git clone https://github.com/joinself/self-ruby-sdk.git
$ cd self-ruby-sdk

# Copy the ./examples/.env.example file to ./examples/.env, then fill out SELF_APP_ID
# and SELF_APP_DEVICE_SECRET in .env
$ cp ./examples/.env.example ./examples/.env

# start the container
$ ./demo up

# Finally run the quick start demo
$ ./demo run
Use the powershell script ./demo.ps1 instead of demo if you’re running Windows.
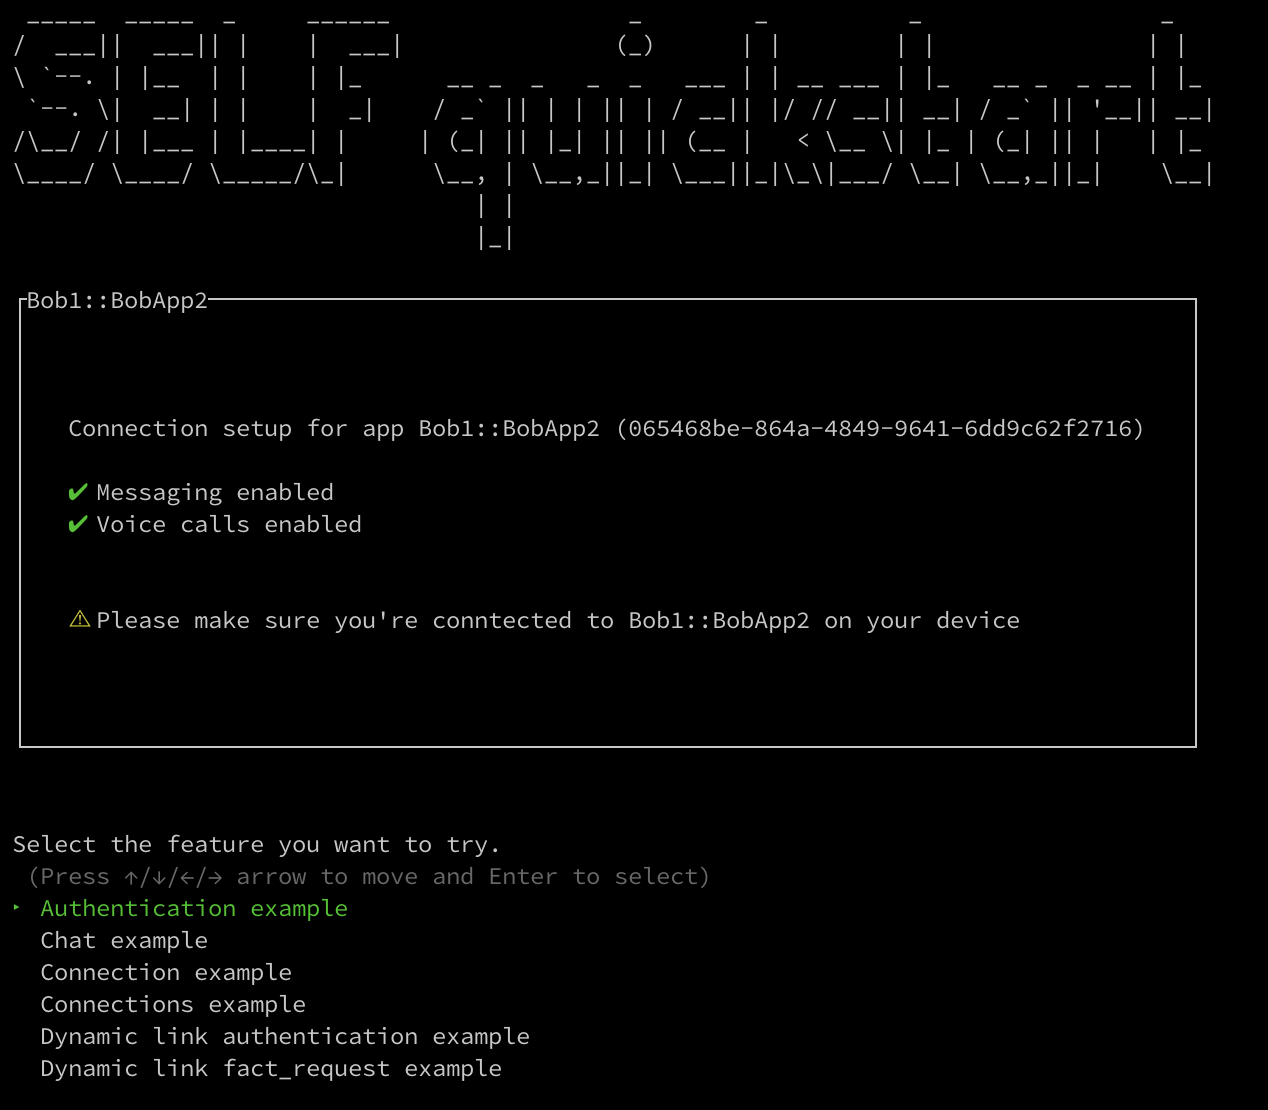
Playing with the examples
When you run the demo script for the first time, you’ll be presented with a tty interface where you’ll be able to test all the examples.
Note you can modify any examples under the examples.
The script will be displaying you information about each of the features you’re running and pointing you to the specific documentation on this site.